Installing a Ceiling Fan
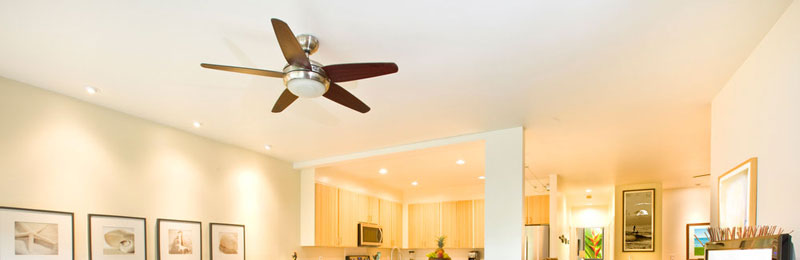
Ceiling fans add to the decor of a room and are an energy efficient way to improve cooling when it's hot and heating when it's cold. For simple installations, installing your own ceiling fan is a breeze.
Determining whether you need new wiring or can use an existing box
If you are replacing an existing fan, you can use the existing box and wiring to install your new fan. If you are replacing a light fixture with a fan, you will need to install a new box and fan brace as the fan is heavier and needs to be secured, however you can re-use the electrical wiring. If there is no existing light fixture or ceiling fan, you will need to install a new box and brace and run wiring into an existing outlet, switch or junction box. Unless you are an advanced DIYer, it is recommended to hire a professional if you need to run new wiring.
Removing the existing light fixture and box
First you will need to remove the existing light fixture. Make sure you have turned off your electricity before you begin. Remove the existing light fixture from the ceiling. You will need to remove the existing light fixture's box from the framing. These are usually nailed to your frame and can be removed with a hammer and a screwdriver or piece of wood. Once you have removed the old box, pull the existing wires through hole in the ceiling.
Removing the existing fan
If there is an existing fan, you will only need to remove the fan and not the box or fan brace. Again, make sure you have turned off your electricity before you begin any electrical work. Simply unscrew the fan from the box and disconnect the electrical wires. If performing this yourself you might need a second set of hands to be safe.
Installing a new fan brace and box (if needed)
As stated before, if you are replacing a light fixture or installing in a place where there wasn't a fixture before, you will need to install a fan brace to securely hold your new fan. Fan brace styles vary and can be installed from above (attic or crawl space) if you have access, or up through the existing hole and box. Choose the style of brace that fits your situation and follow the instructions provided for that style brace.
Finishing Your Installation
After you have the box and the fan brace installed, all that is left is to assemble your new fan, hang it and connect the wires. Follow the directions that came with your fan for assembly. To make it easier to hang, do not assemble the fan blades (or lights if applicable) until your unit is hanging. Once assembled you will simply hang the fan by lifting the downrod and ball assembly into the ball slot on the fan brace. To connect the wiring, connect the ground wire (bare) from the box to the green ground wire from the fan. Connect the white neutral wire from the fan to the neutral wire from the box. Connect the black wire from the fan (and blue if there is one) to the black hot wire from the box. When you have connected the wiring, gently tuck the wires up into the box. The last step is to attach the fan blades and lights and you are done.
Want to estimate your home improvement costs before talking with a contractor? Claim your home for free with bluehammer to estimate costs, secure your home inventory and learn more about your home.
* THIS REPORT IS AN OPINION THAT MAY BE INACCURATE AND IS PROVIDED SOLELY AS AN INFORMATIONAL TOOL NOT DESIGNED TO PROVIDE DEFINITIVE ANSWERS. ALL ELEMENTS ARE OFFERED "AS IS" AND BLUEBOOK EXPRESSLY DISCLAIM ANY AND ALL WARRANTIES, REPRESENTATIONS, AND GUARANTEES OF ANY NATURE, EXPRESS, IMPLIED OR OTHERWISE, INCLUDING BUT NOT LIMITED TO ANY IMPLIED WARRANTIES OF MERCHANTABLITILY, NONINFRINGEMENT, TITLE, QUIET ENJOYMENT, ACCURACY, OR FITNESS FOR A PARTICULAR PURPOSE. IN NO EVENT SHALL BLUEBOOK (OR THEIR SUPPLIERS) BE LIABLE FOR ANY GENERAL, DIRECT, SPECIAL, INCIDENTAL, INDIRECT OR CONSEQUENTIAL DAMAGES OF ANY KIND, OR ANY DAMAGES WHATSOEVER (INCLUDING WITHOUT LIMITATION, THOSE RESULTING FROM USE OF THE PRODUCT, INCLUDING : (1) RELIANCE ON THE MATERIALS PRESENTED, (2) COSTS OF REPLACEMENT GOODS, (3) LOSS OF USE, DATA OR PROFITS, (4) DELAYS OR BUSINESS INTERRUPTIONS, (5) AND ANY THEORY OF LIABILITY, ARISING OUT OF OR IN CONNECTION WITH THE USE OR PERFORMANCE OF INFORMATION) WHETHER OR NOT BLUEBOOK HAS BEEN ADVISED OF THE POSSIBILITY OF SUCH DAMAGES.